

Style your Windows terminal and use WSL and PowerShell like a pro


Style your Windows terminal and use WSL and PowerShell like a pro
With zsh and powerline10k you can have a terminal that will make your unix friends jealous 😀

Finished look of the terminal
Some assumptions
- Have WSL installed. If not you can follow the official docs(I am using Ubuntu 18.04). Once you finished installing you need to setup for the first time, follow tutorial here
- (optional) Have WSL 2 installed following the official docs (WSL 2 is only available in Windows 10 builds 18917 or higher)
- Have the new Windows Terminal (preview) installed. You can get it from the Windows Store
Getting Started
Without any styling you should have something very similar to this


Default Windows Terminal screen
The first thing I recommend it to go into the settings and change the default profile to Ubuntu. After you click settings your json editor will popup with the profiles.json file.

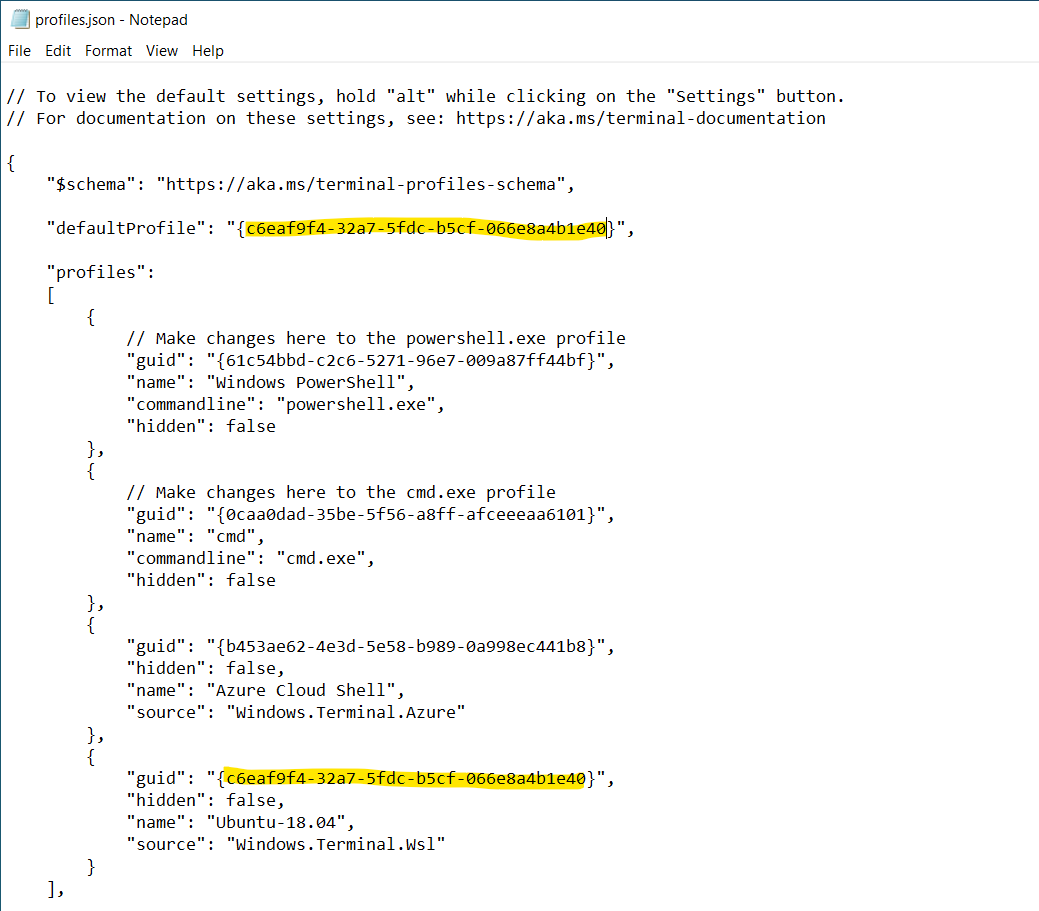
Next you are going to add two new schemes to the file and change the default values from the PowerShell and Ubuntu profiles. The end result will be:
Great after we saved the file we should see something different


Ubuntu

PowerShell
Looks better but not there yet. You must have noticed the font faces in the profiles, those do not exist in windows by default so we need to install them.
Fonts
Install Powerline fonts in Windows To have a correctly working theme, you needed to download and install some needed fonts.
Open Powershell command prompt:
# this will take a while to install all fonts. you can delete the folder after.</span>
Next go to Nerd Fonts and download and install the font you like. In this tutorial I downloaded the mononoki font. These are custom fonts and icons for your terminal.

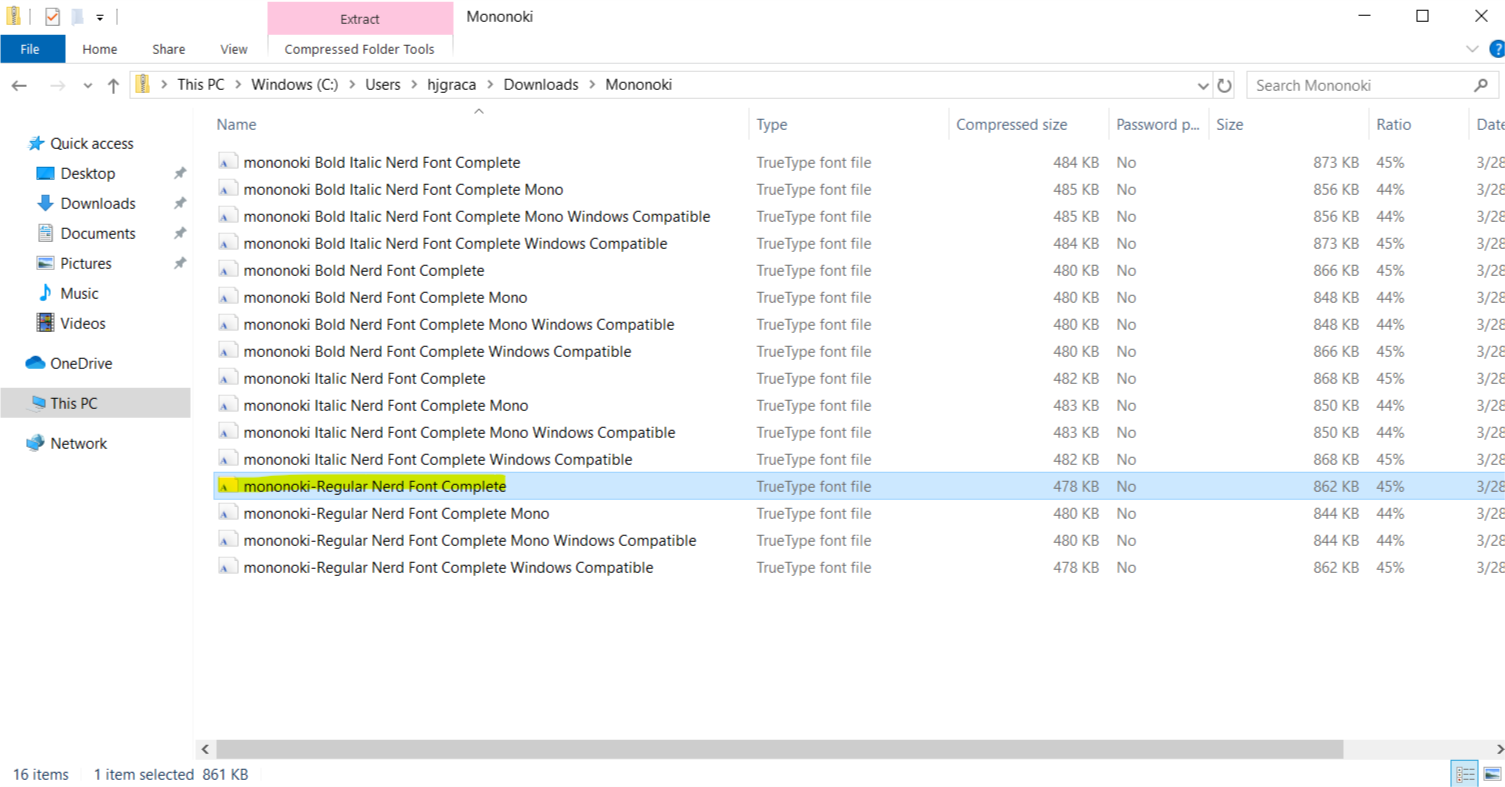
Unzip the file

And install the font
PowerShell
Let´s start by styling PowerShell (scroll down if you want to see WSL). You will need to have installed Git for Windows.
Follow these directions, this will install Posh-Git and Oh-My-Posh.
Install posh-git and oh-my-posh:
# You could have the following to allow for scripts execution
# Set-ExecutionPolicy -ExecutionPolicy RemoteSigned -Scope CurrentUser</span><span id="07ce" class="fl kk ik ep kl b dd kp kq kr ks kt kn s ko">Install-Module posh-git -Scope CurrentUser
Install-Module oh-my-posh -Scope CurrentUser</span>
Enable the prompt:
# Start the default settings (might not work so optional)
Set-Prompt</span><span id="a305" class="fl kk ik ep kl b dd kp kq kr ks kt kn s ko"># To enable the engine edit your PowerShell profile, run
notepad $PROFILE</span><span id="6843" class="fl kk ik ep kl b dd kp kq kr ks kt kn s ko"># and append the following lines to the profile file you just opened (or created in case the file was not there already):</span><span id="c5de" class="fl kk ik ep kl b dd kp kq kr ks kt kn s ko">Import-Module posh-git
Import-Module oh-my-posh
Set-Theme Paradox</span>
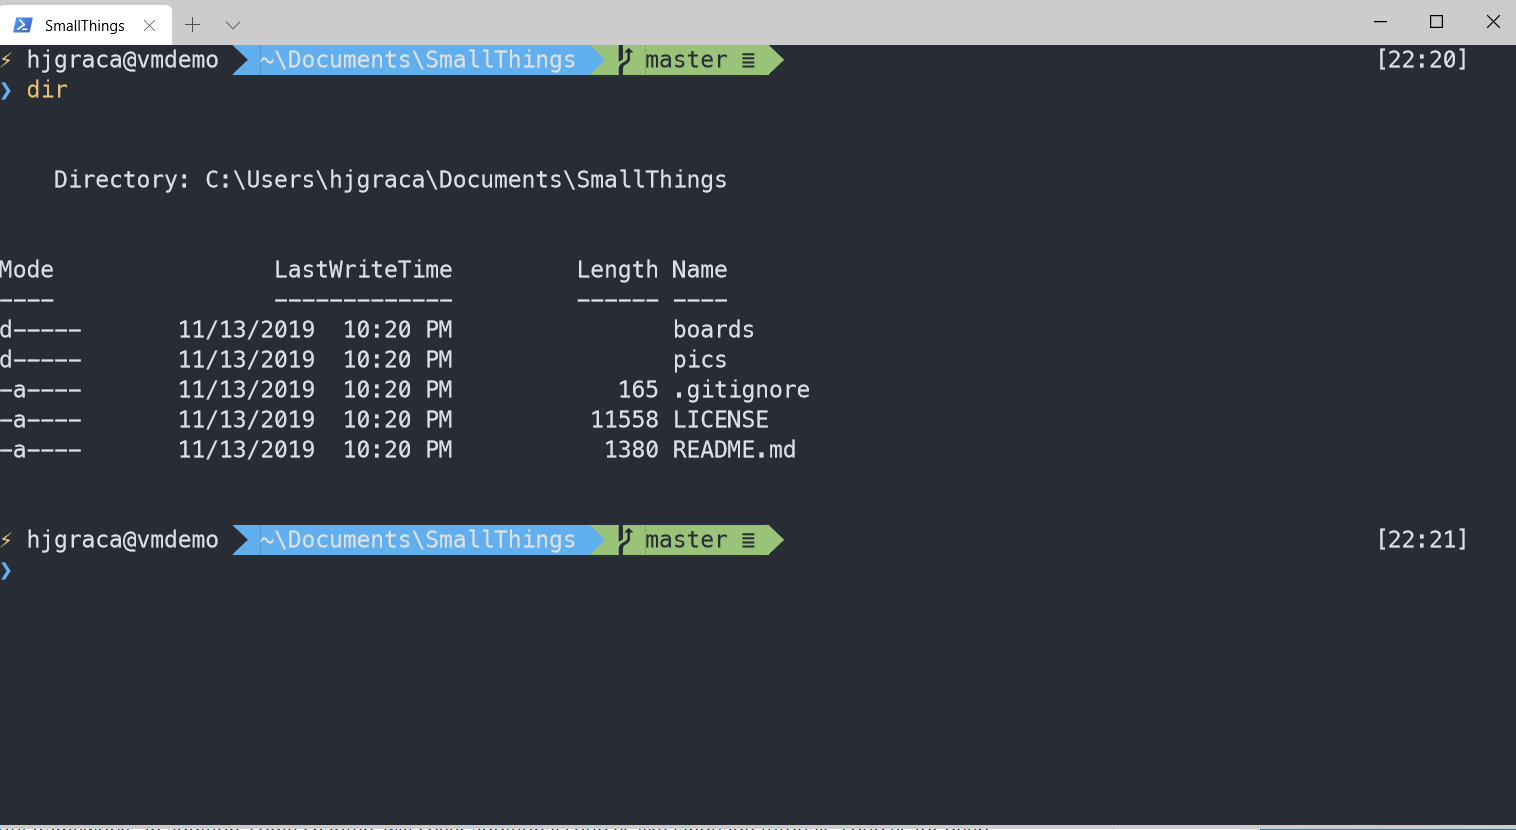
Once you are done this is what your PowerShell will look like. You can get other themes here. And as you can see all icons are there including the git icons 😎

WSL
Now that we have PowerShell styled lets take care of Ubuntu.
1. First install zsh
sudo apt-get install zsh curl git</span>
2. Install oh-my-zsh.
sh -c "$(curl -fsSL https://raw.githubusercontent.com/robbyrussell/oh-my-zsh/master/tools/install.sh)"</span>
If all went well, your Ubuntu terminal shell should look like this. Just your username in the prompt.


Now we are ready to add some themes. I will be using Powerlevel10k. And because we have oh my zsh installed we just need to run the following scripts
git clone --depth=1 https://github.com/romkatv/powerlevel10k.git $ZSH_CUSTOM/themes/powerlevel10k</span>
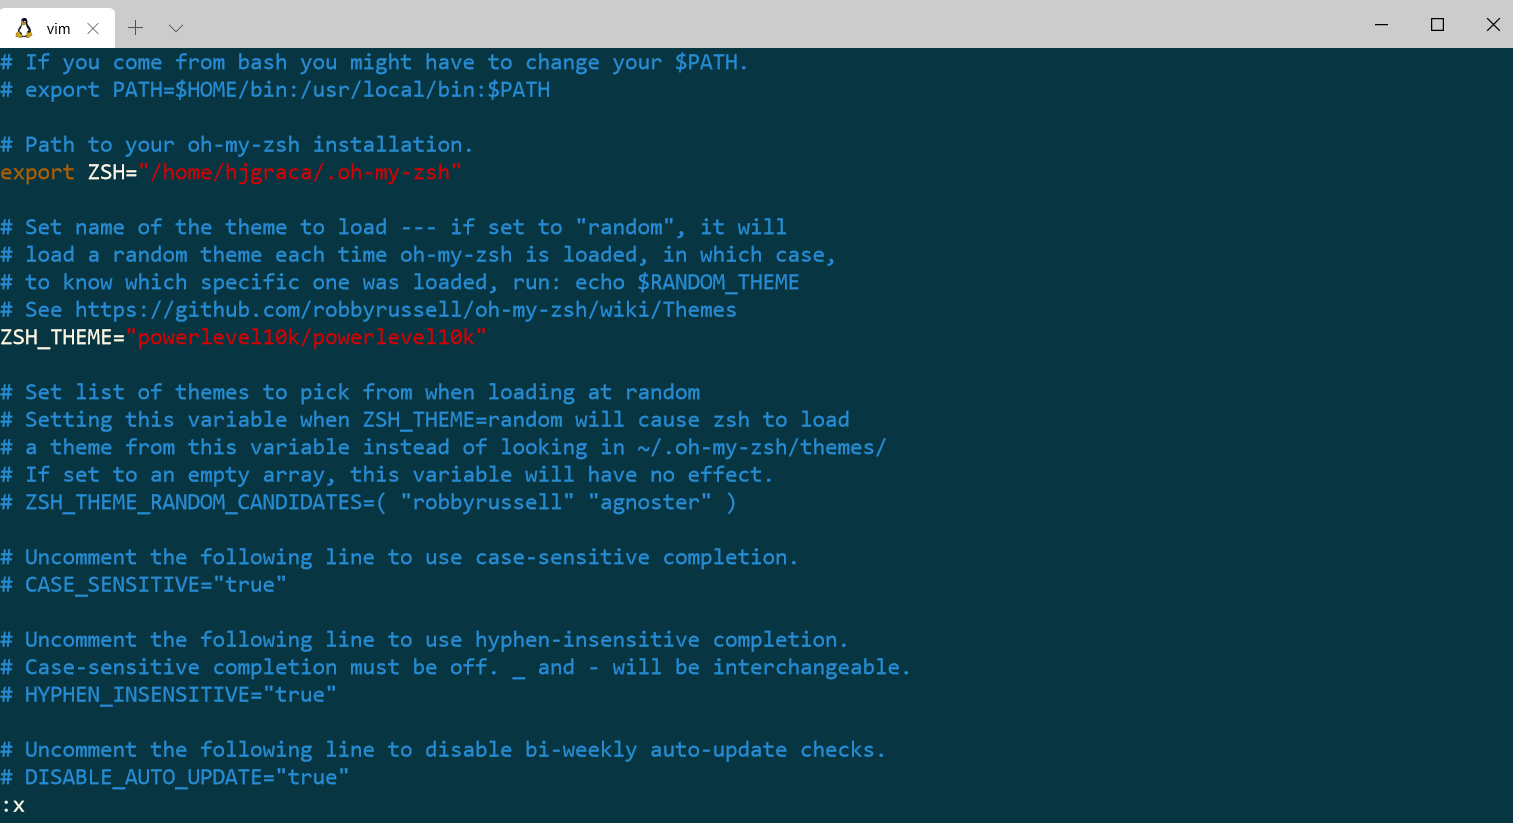
Set ZSH_THEME=powerlevel10k/powerlevel10k in your ~/.zshrc. To do that run vim ~/.zshrcand replace the ZSH_THEME value. Save and exit Vim 😂

Now restart the Windows Terminal and you should see the Powerlevel10k configuration wizard

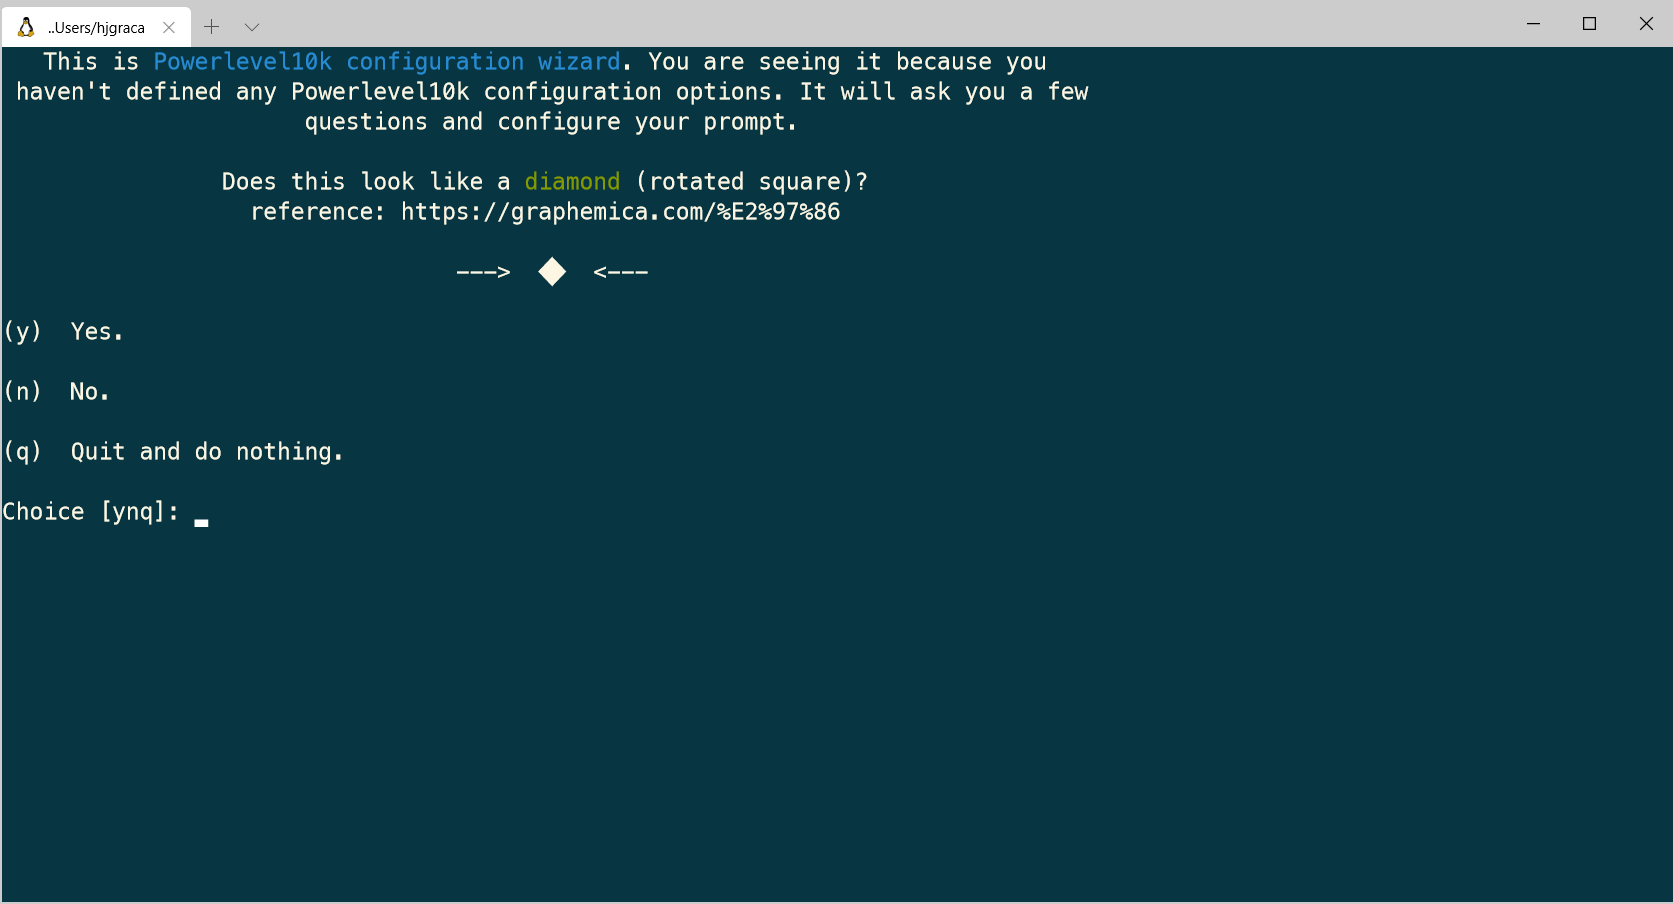
If all the fonts were installed correctly you should see a diamond (like above) a lock and a debian logo. Follow the wizard until the end and then apply your changes to the ~/.zshrc file
Depending on the style you chose you should have a good looking terminal like this.

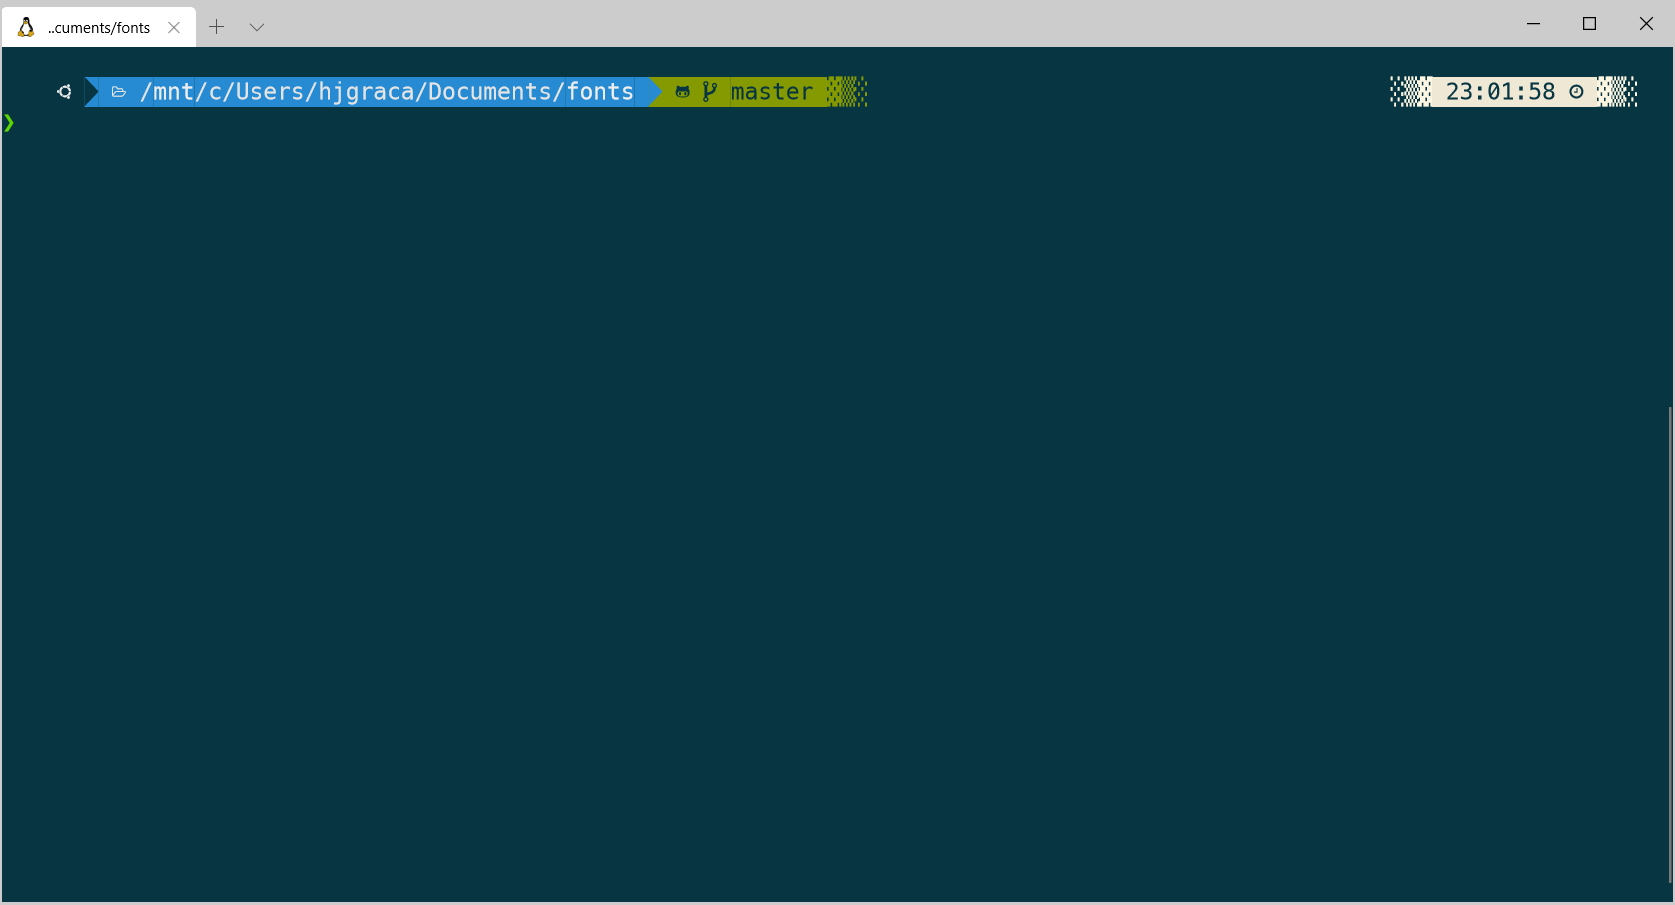
That’s it you now have a very good looking PowerShell and WSL terminal that will make your unix friends jealous 😍
Extras for WSL
Plugins
zsh and Powerlevel10k have an enormous amount of plugins and extensions that you can add to your shell.
Add Auto Suggestions (repo)
- Clone this repository into
$ZSH_CUSTOM/plugins(by default~/.oh-my-zsh/custom/plugins)
git clone [https://github.com/zsh-users/zsh-autosuggestions](https://github.com/zsh-users/zsh-autosuggestions) ${ZSH_CUSTOM:-~/.oh-my-zsh/custom}/plugins/zsh-autosuggestions</span>
2. Add the plugin to the list of plugins for Oh My Zsh to load (inside ~/.zshrc): (you will probably have git already)
ZSH_AUTOSUGGEST_HIGHLIGHT_STYLE="fg=244"</span>
3. Start a new terminal session. And now you have auto suggestions.
Kubectl plugin (repo)
For those like me that have to deal with Kubernetes this is an amazing plugin, because it gives you autocomplete and many aliases for you to have to type less. What do you have to do?! Very easy just open ~/.zshrc and edit the plugins line and add kubectl. Save and exit Vim
plugins=(git zsh-autosuggestions **kubectl**)</span>
Restart the terminal session
Styling the prompt with Powerlevel10k
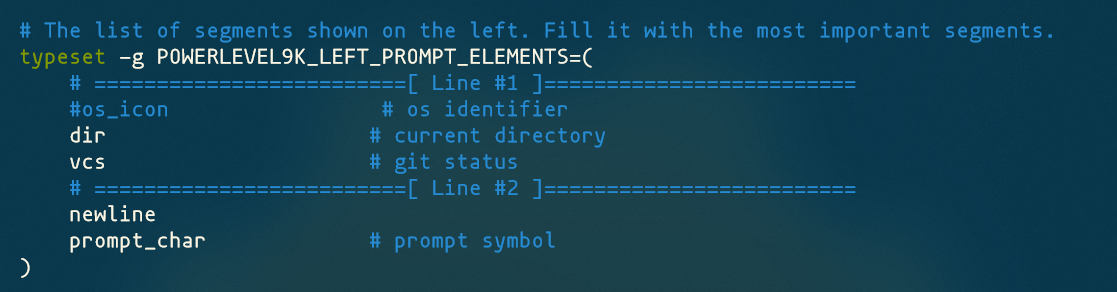
We can add many things to the prompt, like aws or azure login user information, Kubernetes cluster and namespace information, nodejs version and so on. To do so we need to edit the Powerlevel10k configuration file ~/.p10k.zsh:
vim ~/.p10k.zsh</span>
Change the POWERLEVEL9K_LEFT_PROMPT_ELEMENTS to change the left hand side of the prompt.

Change the POWERLEVEL9K_RIGHT_PROMPT_ELEMENTS to change the right hand side of the prompt. This is where most of the elements are.

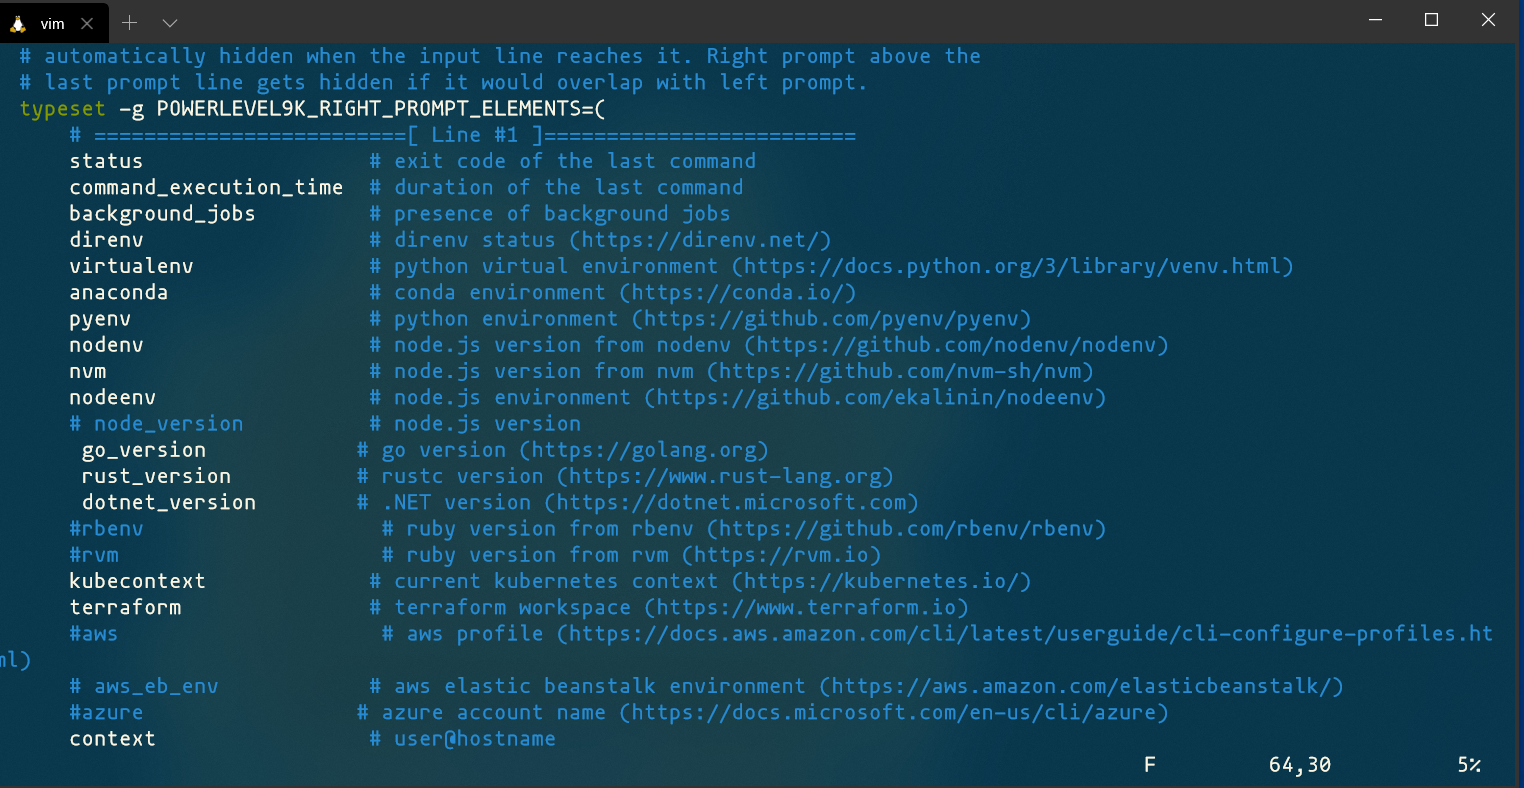
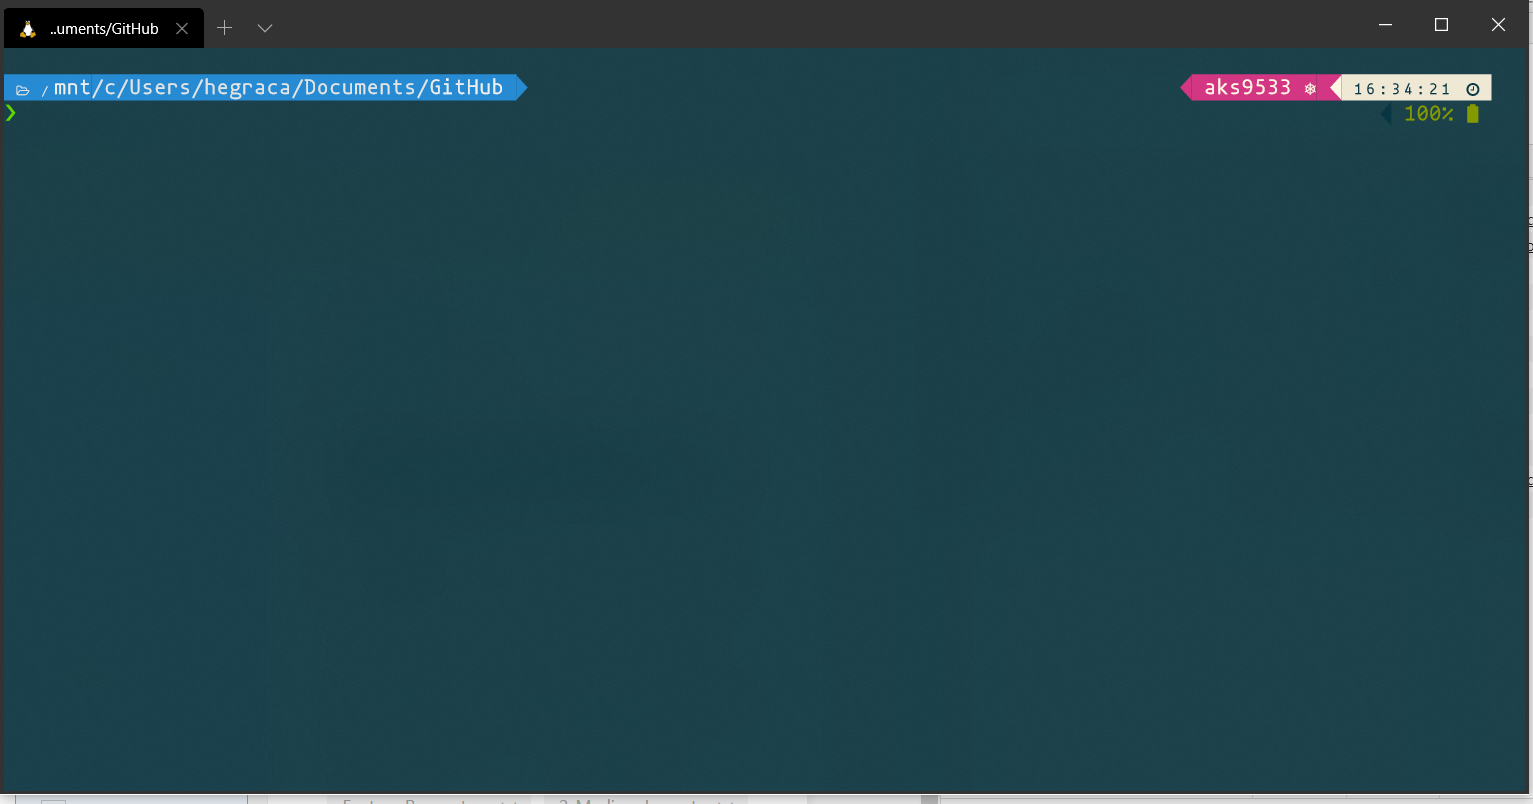
For example to add the Kubernetes cluster and namespace information I just enable the kubecontext element. And for the battery information the battery element

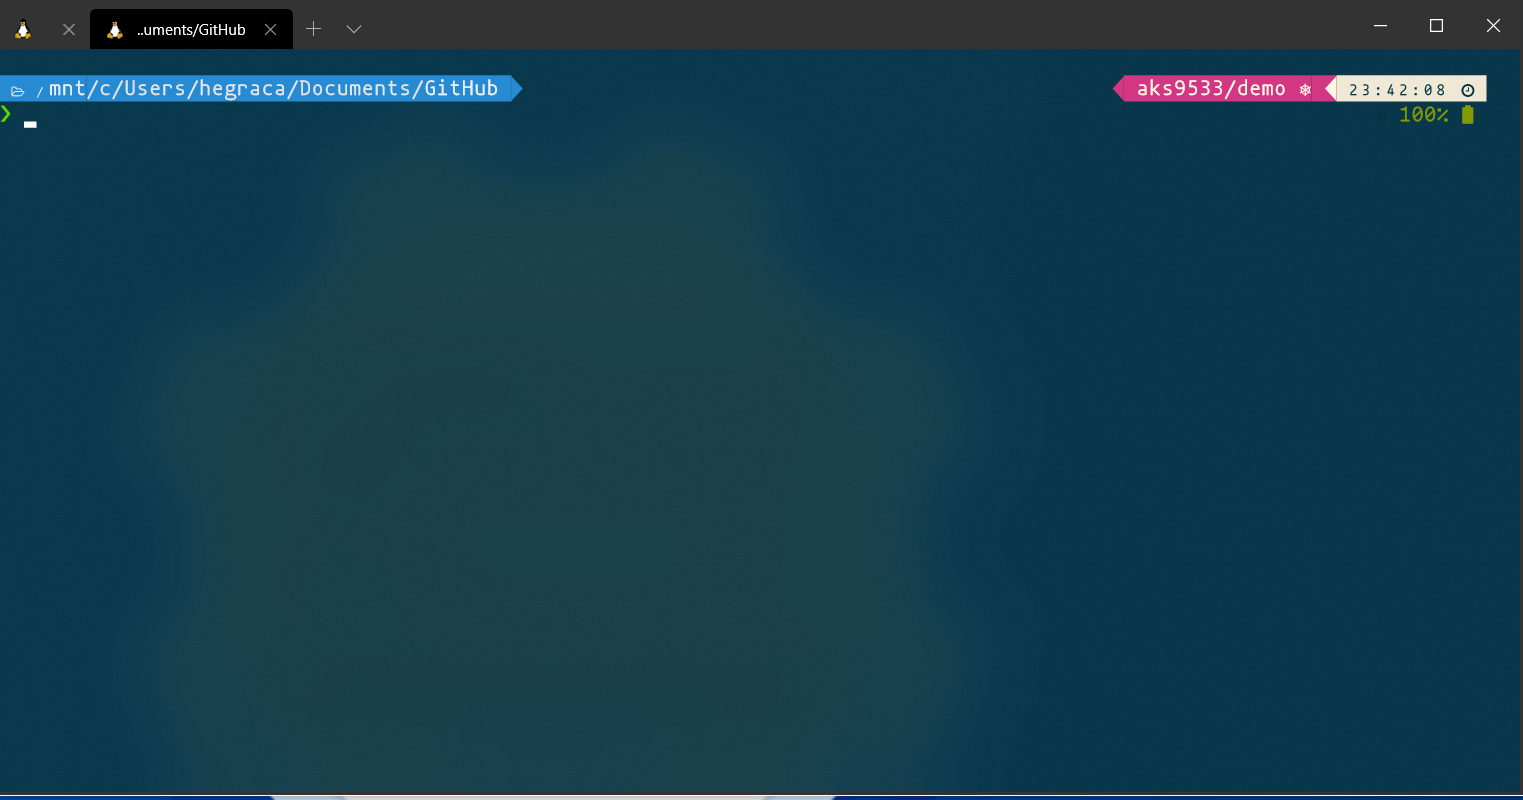
In pink the Kubernetes cluster(aks9533) and namepsace (demo).
And that’s it, totally customizable and good looking terminal. To learn more have a look at the style your prompt guide of Powerlevel9k (original project) to know what to change.